A Taskbar on Every Screen, on a Mac
Published · 7 min read
On Windows, each monitor had its own taskbar. On a Mac, one Dock serves the whole desk. If you just switched, the thing you miss is usually that second bar, not the Start menu.
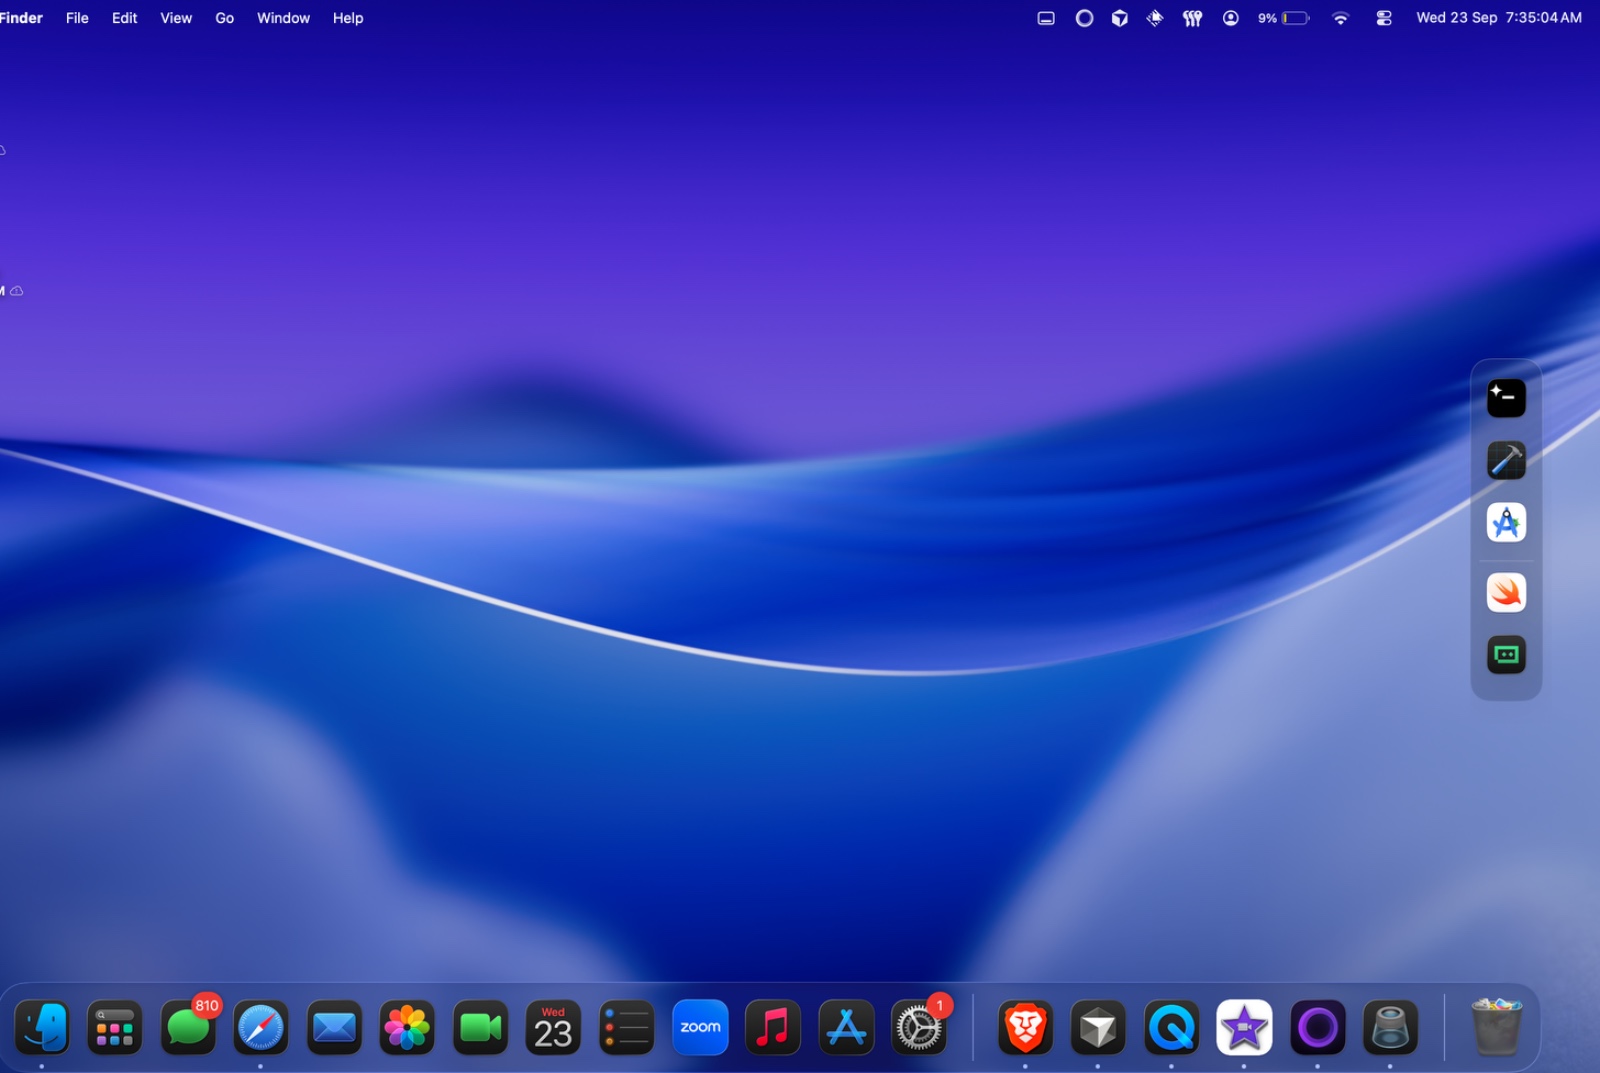
What you are actually missing
The Windows taskbar did three jobs at once. It launched apps. It showed what was already open, with a thumbnail when you hovered. And on a multi-monitor desk, each screen had its own copy, so the bar stayed under the window you were using.
macOS splits those jobs. The Dock launches apps and marks which ones are running. Hovering an icon does not show window thumbnails the way the taskbar did. And there is still only one Dock. It may sit on the screen with the menu bar, or it may follow your pointer. The other displays do not get a bar of their own.
People go looking for “a Windows taskbar for Mac” when one of those three is broken. Name which one before you install anything. A full taskbar clone and a second dock are different products.
Keep the Mac Dock, add the missing bar
If Apple’s Dock is fine and the gap is the empty monitor, you do not need to hide it. Leave it on the MacBook or the main display. Add another dock on the screen where you work, and pin only the apps you open while you are looking at that screen.
That is what Ordin does. It does not replace the Dock. You place an extra dock on the bottom, top, left, or right edge, or let it float. A vertical dock on the side of a wide monitor takes less of the screen than a second horizontal row, which is closer to how a side taskbar felt. Hover an icon on Apple’s Dock or on the extra dock and you get live thumbnails of that app’s open windows, which is the preview the Windows bar trained you to expect. The live previews note covers that part on its own.
On a laptop plus one external display, put the apps for the big screen on the extra dock and leave a short Apple Dock on the MacBook. The external monitor guide is the step-by-step for that desk. On two or three external screens, give each display its own short strip instead of copying every icon onto every bar. The dock on every monitor guide is that layout.
When you want the taskbar itself
Some people do want the Windows bar: labels under icons, every window listed, a clock in the corner, the same bar mirrored or split per monitor, and Apple’s Dock out of the way. That is a dock replacement, not an extra dock.
uBar is built for that. It can run as a dock or a taskbar, including a bar on each monitor, and it is a different purchase from Ordin. The alternatives list separates the two jobs so you do not pay for a clone when you wanted a second strip, or the other way around.
Ordin is the better fit when you want the Mac to keep looking like a Mac: Apple’s Dock stays, and the extra bars are for the screens that did not get one.
A first-week setup
- Decide which screen is “home” for Apple’s Dock. Leave it there.
- Download Ordin (macOS 13 or later, Apple silicon or Intel). The trial is 2 days and does not ask for an account. Drag the app to Applications.
- From the menu bar, create one dock on the display that feels empty. Bottom if you want a taskbar. Left or right if the monitor is wide.
- Drag on the apps you open on that screen. Skip the rest. A short bar is the point.
- Hover an icon that has several windows. The thumbnails are how you stop cycling through the app the way Alt+Tab used to.
Unplugging the monitor hides the dock that belonged to it. Plug the display back in and the bar returns. If you also move between a desk and a laptop-only day, save each arrangement as a preset. That switch is in presets and hotkeys.
Put a bar on the screen that does not have one. 2 days free, no account. $12.99 once if you keep Ordin on this Mac.
Download for MacRelated: Dock on an external monitor · A dock on every monitor · Live window previews