Put a Dock on Your External Monitor
Published · 7 min read
You plugged in a monitor so the work would happen on the big screen. The Dock stayed on the MacBook. Every launch sends your eyes and cursor back to the laptop bezel. A second dock on the external display fixes that, and Apple’s Dock can stay where it is.
Moving Apple’s Dock is the wrong fix
macOS gives you one Dock. In some setups it follows the pointer to the display you are using. In others it stays on the screen that holds the menu bar. Either way, one screen has the icons and the other does not.
Dragging the menu bar to the external display in System Settings → Displays moves the Dock with it. The big screen is happy. The laptop is not: glancing down for Slack, Finder, or the browser means reaching across to a monitor you are not looking at. You traded one problem for the same problem on the other screen.
What you want on a desk is both. Apple’s Dock on the MacBook, for the few apps you still open there. A second dock on the external monitor, holding the apps that live on that display.
What to put on the external dock
Copying the whole MacBook Dock onto the monitor makes a longer row and solves nothing. Pin only what you open while you are looking at that screen.
- The app you live in: browser, Figma, Xcode, or Final Cut. One icon, on the edge you already reach for.
- The windows you lose: if that app has many windows, live previews on hover show them as thumbnails so you jump to the right one.
- A shelf, not a folder hunt: drop files you are moving between apps onto a shelf widget in the dock row, instead of digging through the Desktop on the laptop.
- Leave chat on the laptop if that is where you glance during a call. Or pin it on the external dock if the monitor is where Slack actually sits. Pick one screen and stick to it.
A vertical dock on the left or right edge of a wide monitor uses less of the screen than a second horizontal bar. The bottom edge is fine when the monitor is the one you treat as the main desk.
Set it up in a few minutes
- Connect the monitor and put the windows you care about on it. Leave the MacBook open.
- Download Ordin. It runs on macOS 13 Ventura or later, on Apple silicon and Intel. Open the disk image and drag Ordin to Applications. The trial is 2 days and does not ask for an account.
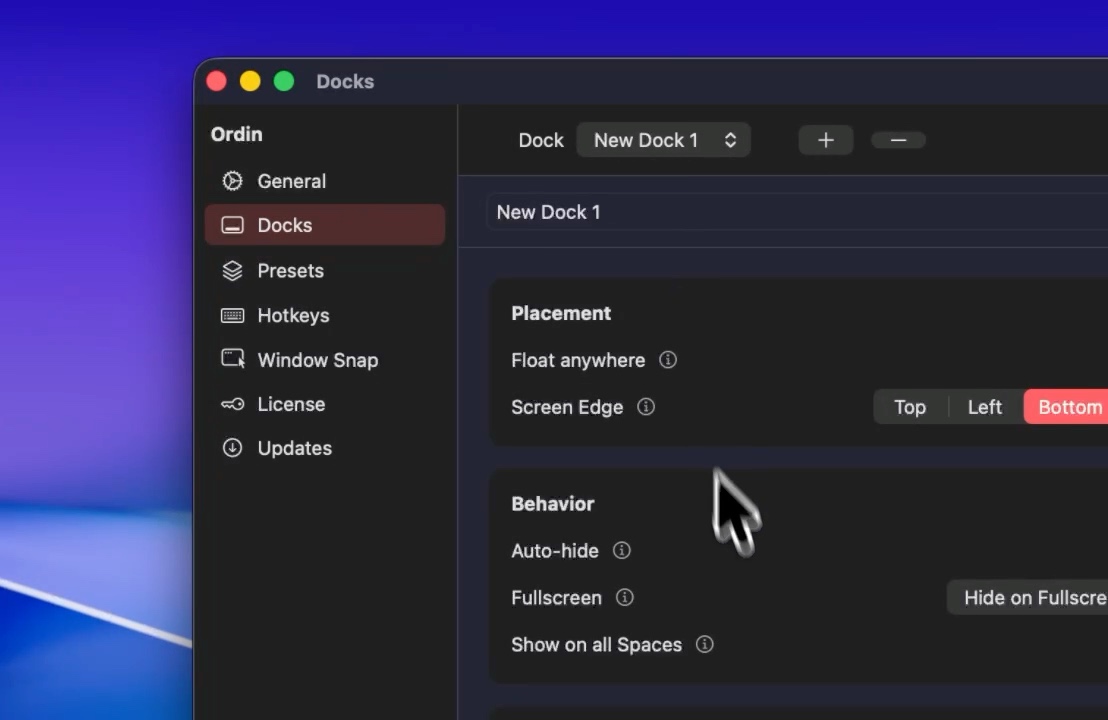
- From the Ordin menu bar, create a dock and place it on the external display: bottom, top, left, right, or floating.
- Drag the apps for that screen onto the dock from Finder or the Applications folder. Skip the apps that should stay on the MacBook.
- Hover an icon. If you see the open windows, you are done. If the dock looks loud against the wallpaper, set the background to Liquid Glass, Transparent, or Solid in Settings → Docks.
Apple’s Dock is still on the Mac. Ordin does not replace it. You now have a launch strip on the display where the work is.
Try this on your monitor today. 2 days free, no account. $12.99 once if you keep Ordin on this Mac.
Download for MacWhen you unplug the monitor
A dock assigned to that display hides when the screen disconnects and comes back when you plug it in again. You do not have to delete the layout every time you leave the desk.
If you also want a smaller set of docks for travel, save the desk layout as a preset and the laptop layout as another. The presets and hotkeys note covers that switch. For a three-screen desk, the dock on every monitor guide is the wider version of this setup.
Who should skip this
If you want Apple’s Dock hidden and a single replacement bar, this is the wrong shape. Ordin leaves the system Dock in place and adds more. People who want a full replacement usually look at DockDoor Pro, uBar, or ActiveDock. The ExtraDock alternatives page separates those jobs, and Ordin vs ExtraDock is the comparison when the question is “extra docks” specifically.
If one Dock on the external monitor is enough, and you never miss it on the laptop, you may not need a second strip. Move the menu bar to the big display and stop there. Most people who searched for this page have already tried that and still reach for the laptop.
What it costs
The trial covers the app for 2 days. A lifetime license is $12.99 once, in US dollars, for one Mac, for people in the United States and Europe. Payment is optional during the trial. The key arrives after checkout and goes in Settings → License. Updates ship through Settings → Updates.
Put a dock on the monitor you are looking at. Download Ordin, place one dock, drag on the apps for that screen.
Download for MacRelated: A taskbar on every screen · A dock on every monitor · Live window previews